Introduction
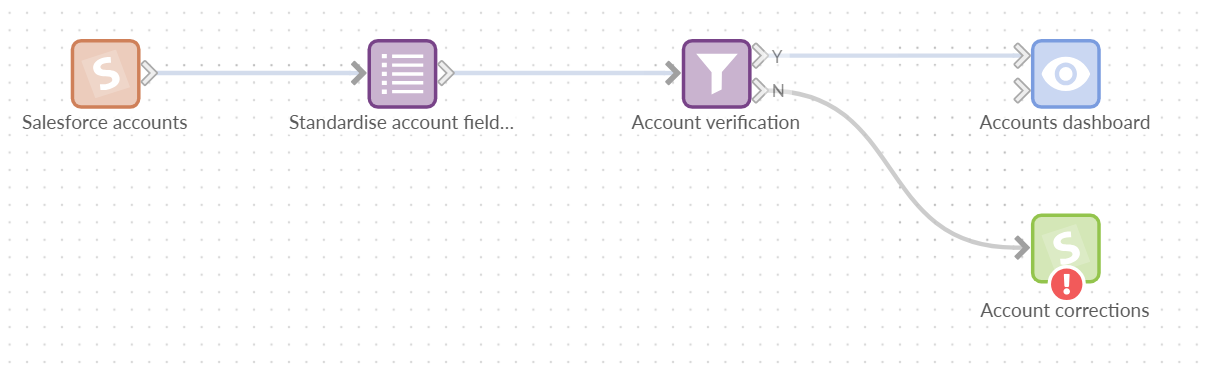
Omniscope includes two blocks for working with Salesforce data:
- The Salesforce source block imports Salesforce data into an Omniscope workflow.
- The Salesforce output block publishes workflow data to Salesforce. It can append new records, update existing records or replace the records in a selected Salesforce object.
OAuth Client Credential connection setup
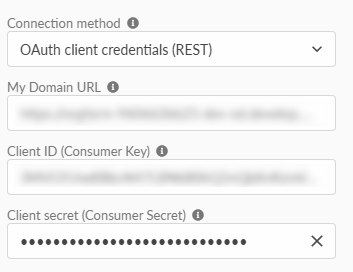
The recommended method of connecting is to Salesforce using OAuth client credentials. This requires:
- Your Salesforce Current My Domain URL
- A Client ID, also called a Consumer Key
- A Client Secret, also called a Consumer Secret
The Client ID and secret come from a Salesforce External Client App. The app also defines the Salesforce user that Omniscope runs as. That user's permissions determine which objects, fields and records Omniscope can read or change..
Salesforce configuration varies by edition and the security policies applied to an organisation. The following steps are a guide. Ask your Salesforce administrator to create or approve the External Client App, Run As user and permissions for your organisation.
In Salesforce Setup, enter External Client Apps in the Quick Find box and open External Client App Manager. Create a local External Client App for Omniscope, or open an existing app that has been created in this connection.

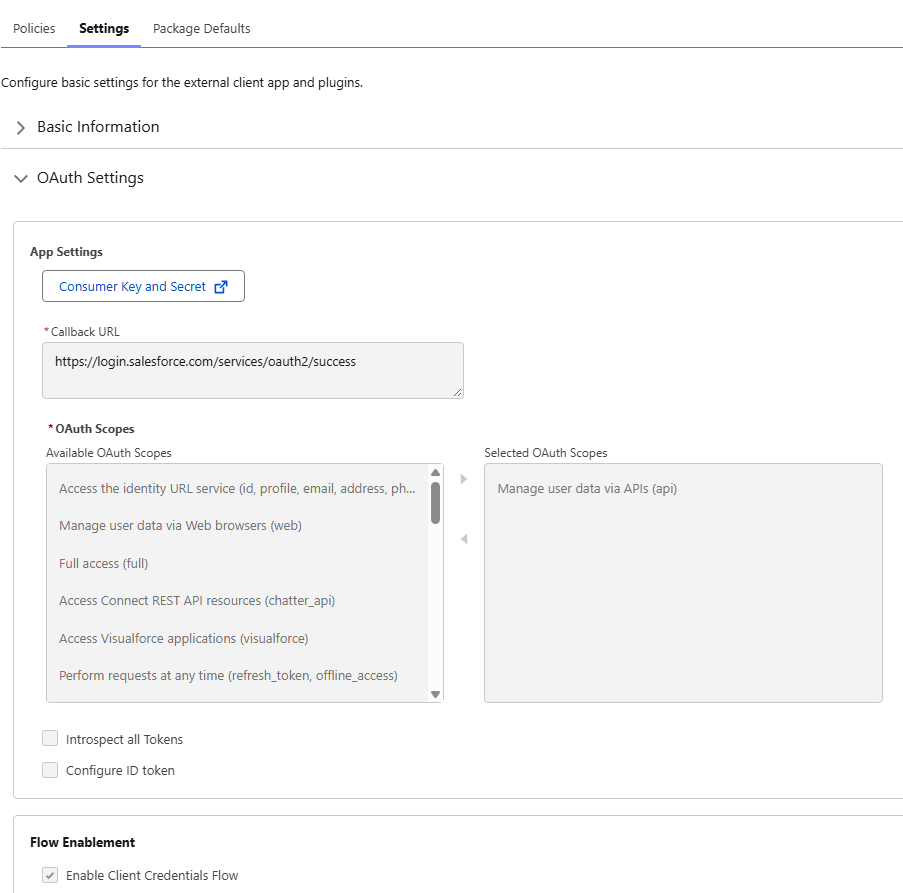
In the app's settings:
- Enable OAuth
- Add the Manage user data via APIs (api) OAuth scope. Avoid granting broader scopes unless your Salesforce administrator requires them for another reason.
- Enable Client Credentials Flow
- Use Local as the distribution state when the app is for this Salesforce organisation
- If Salesforce requires a callback URL while configuring OAuth, enter a valid HTTPS URL approved by your administrator. The client credentials flow does not redirect a user to this URL when Omniscope connects.
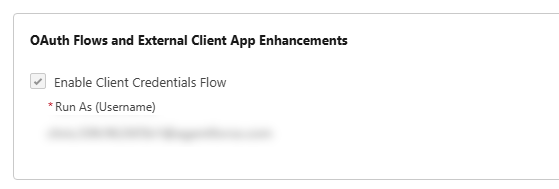
Open the app's Policies tab and edit its OAuth policies. Enable Client Credentials Flow and select the Run As user. This should normally be a dedicated integration user with only the object, field and record access that Omniscope needs. Using a Salesforce administrator as the Run As user gives the integration broad access and is not recommended for a production connection.
Salesforce's current instructions for this flow are available here.
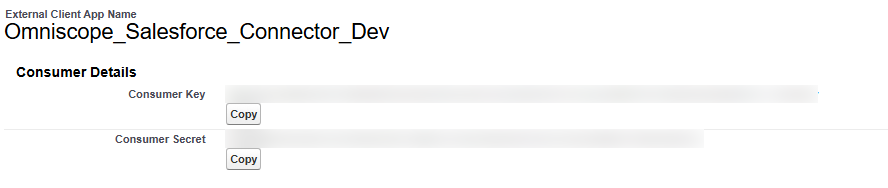
Return to the app's Settings tab and open Consumer Key and Secret. Copy the Consumer Key and Consumer Secret to a secure password manager.
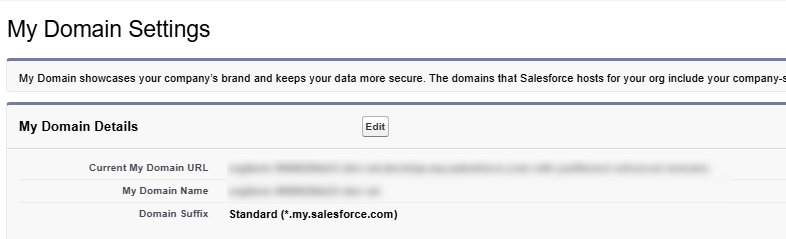
In Salesforce Setup, enter My Domain in Quick Find. Under My Domain Details, copy the Current My Domain URL and prepend a HTTPS base address, such as https://your-company.my.salesforce.com.
Legacy username/password connection setup
Omniscope retains the Legacy username/password (SOAP/Bulk) connection method so that existing saved workflows continue to open and run while customers migrate them. It uses a Salesforce username, password, optional security token and a Production or Test server selection. It should not be used for a new connection.
Salesforce currently supports SOAP API login in API versions 31 to 64, but plans to retire it with the summer '27 release. It is unavailable in API version 65 and later, and is disabled by default in Salesforce organisations created from Winter '26 onwards. Salesforce also requires additional administrator configuration and the Use Any API Auth user permission where SOAP API login remains enabled.
Salesforce's current retirement notice is available here.
Connecting to Salesforce in Omniscope
In both the source and output Salesforce blocks, select the connection method as described above and enter the connection information, then click the Connect button.
Import data with the Salesforce source block
Add the Salesforce block from the workflow block menu. Configure and confirm the connection, then select a Table.
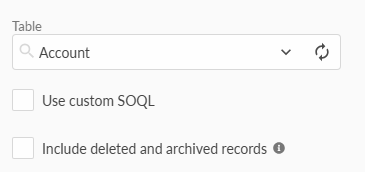
Omniscope creates a query for the selected table and imports it supported scalar fields.
Tick Use Custom SOQL when you need to select particular fields, filter records, sort the result or apply a LIMIT. The query must select individual field API names from the selected table.

Publish data with the Salesforce output block
Add the Salesforce output block from the workflow block menu. Configure and confirm the connection, then select the target Table and Publish method.
Input field names must match Salesforce field API names. The Run As user must have the necessary permissions for the selected table and fields. Salesforce validation rules, required fields, relationships, triggers and other organisation specific behaviour can also affect a publish.
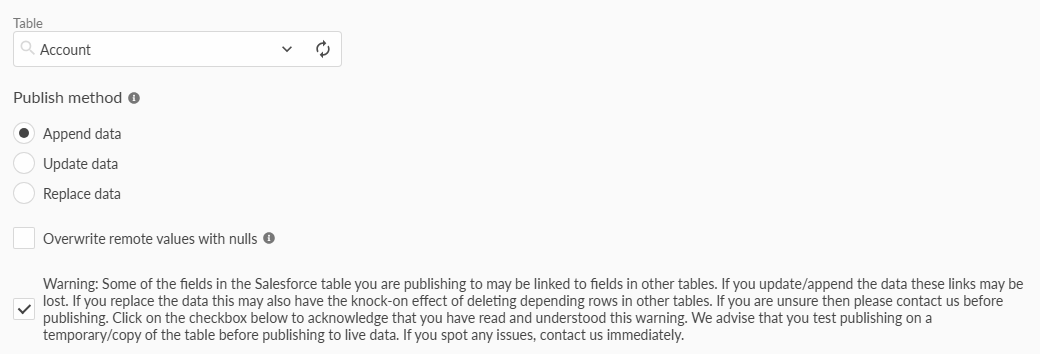
The following publish methods are supported:
- Append data creates new Salesforce records. Do not supply Salesforce Id or read-only fields. Each successful record is given a new Salesforce Id.
- Update data changes existing records. The input must include the Salesforce Id field so that each row identifies the record to change. Include only the fields that should be updated.
- Replace data is destructive and replaces all records in the selected table.
Before using any of these Publish methods, but especially Replace data, we recommend:
- Testing with a sandbox or a disposable custom object.
- Agreeing a backup and recovery process with your Salesforce administrator.
- Stop other processes what write to the target while Replace data is running.
- Check the Run As user sees exactly the records you attend to update/replace.
Was this article helpful?
That’s Great!
Thank you for your feedback
Sorry! We couldn't be helpful
Thank you for your feedback
Feedback sent
We appreciate your effort and will try to fix the article